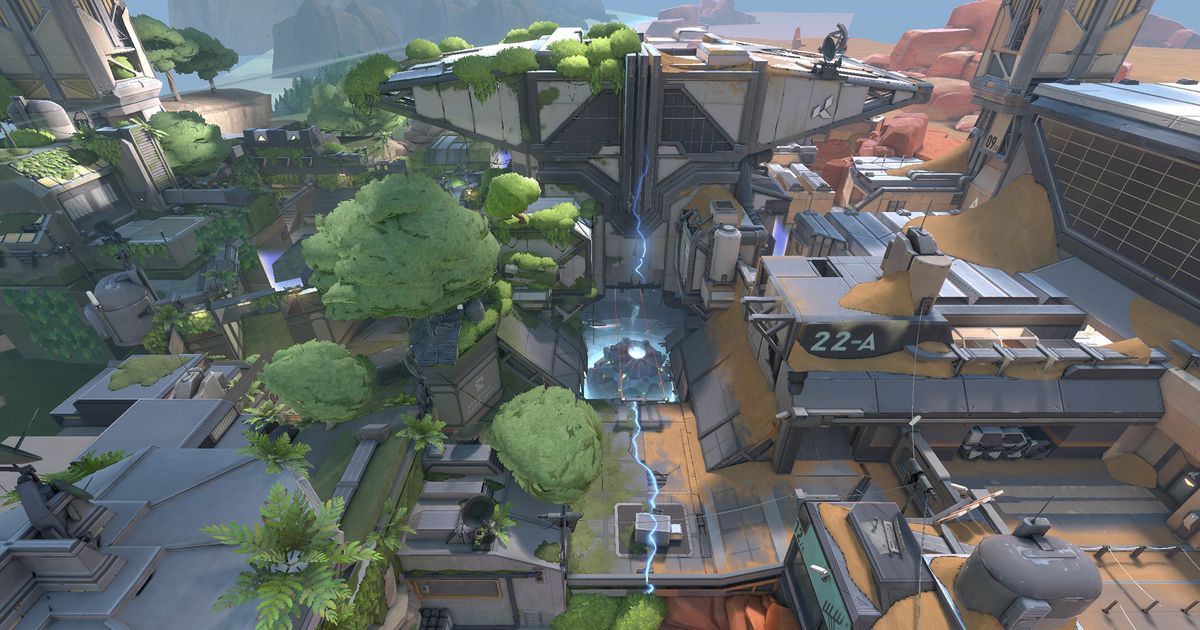
We present a detailed guide to assist you in exploring and conquering Valorant's map 'Fracture'.
Unlike any other map in Valorant or any other FPS game, Fracture features an H-shaped layout. It enables attackers to spawn on either side of the map while defenders spawn at the centre.
Below is the extensive Valorant Fracture map guide.
Fracture: All reactor site locations and callouts
This distinctive map is bound to surprise some players. It requires a period of adjustment due to the multiple directions attackers can come from. In addition to the unconventional feature of attackers being able to push from any side, there are numerous corners and hidden angles that players must remain cautious of.
The presence of four ultimate orbs spread throughout the map makes agents such as Skye, Reyna, Cypher, and Phoenix particularly valuable. Given that their ultimates have a low cost of six points, allowing them to potentially utilize their ultimate ability in every round.
How to play as a defender on Fracture
A Site
Throughout this guide, you will frequently encounter the recurring idea of prioritizing retaking rather than maintaining control of the sites. Sentinels should primarily focus on utilizing their resources to fully secure the site. They will stall the enemy's offensive and provide ample time for your teammates to join the fray.
Given that attackers often have multiple access points to the site, it is generally advisable to withdraw and regroup with your teammates. You should do it before being overwhelmed by the barrage of enemy utilities.
In the worst-case scenario where you are unable to back up off-site during an enemy attack, your best course of action is to seek refuge in a corner underneath.
At times, adversaries may overlook clearing the entire area underneath. That will provide you with an advantageous position to inflict significant damage until the arrival of your teammates for cleanup.
It is advisable to have a team member lurking around A Dish, as attackers may approach from that direction. Additionally, designate one individual to hold A Rope. It will enable them to listen for footsteps from A Hall and secure the door. Note that the attackers can easily surprise defenders if they gain control of that area.
B Site
If you struggle with retreating from confrontations, B Site could be the ideal choice for you. Due to the numerous angles and hiding places available, attackers may find it challenging to advance onto the site when faced with a strong crossfire from your team.
Defenders can effectively hold positions from B Tower. They will enable quick rotations between monitoring Arcade and Underpass, as well as defending against pushes from B Main onto the site. It is important to note that certain sections of the wall in B Tower can be penetrated. So, exercising caution is advised when holding from this location.
How to play as an attacker on Fracture
A Site
When launching an attack on A Site, the most convenient approach is to initiate the push from A Hall. Simultaneously, assign one attacker to push from A Dish and maintain the position for a rotation.
The strategy of pushing from A Hall is relatively simple. It is advisable to dispatch two attackers through the door simultaneously. That's because you can seize control of the rope and defender spawn areas.
Additionally, two attackers should proceed from A Main and advance towards the site. If you manage to successfully clear the site, executing the post-plant phase becomes straightforward, and the defenders will encounter difficulties in retaking control.
It is recommended to have two attackers positioned at the main rotate point. That is the Defender Spawn, while also assigning one attacker to hold from Dish. Meanwhile, one of the attackers who initially pushed onto the site should return to A Hall to provide cover for any potential flanking manoeuvres.
B Site
If your strategy involves launching an assault on B Site from Arcade, the most effective course of action is to promptly seize control of B Tower. As emphasized in the defensive strategies for B Site, gaining control of the Tower is pivotal for a successful attack on the site.
While advancing towards B Tower, the remaining members of your team should flank and push from the opposite side of the site to establish complete dominance. Additionally, it is crucial to utilize the underpass/tunnel to manoeuvre around the site and change positions strategically.
Conclusion
Although Fracture presents a unique gameplay experience, the key to success lies in effective coordination with your team through attentive callouts. By executing a well-coordinated attack from multiple angles, you can effortlessly secure the site and gain full control.
Conversely, on defence, it is crucial not to hastily rotate away from the site. Given the abundance of rotation options, it is tempting to be lured away from your defensive position.
Valorant: The Best Agents on Ascent|Valorant: How to fix error code 51|Fun Valorant Crosshairs You Need to Try at Least Once|Valorant XERØFANG Skin Bundle: Speculative release date, skins & expected|How the Riot Games Layoffs Affect Valorant.
Explore new topics and discover content that's right for you!
Valorant


