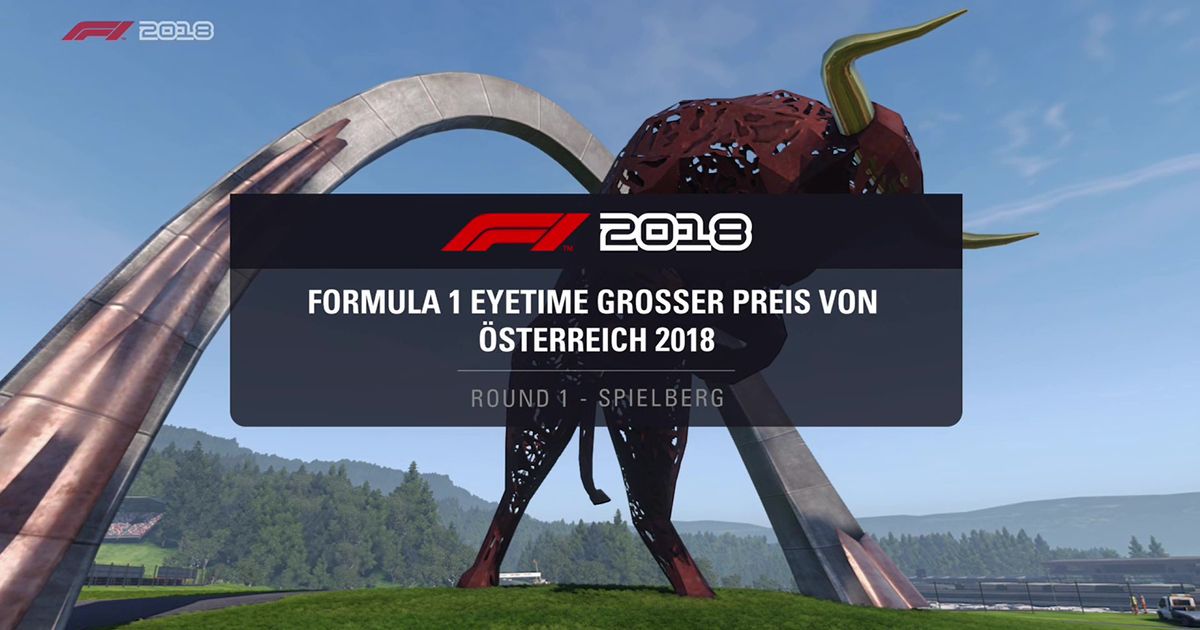
The Austrian Grand Prix has not been a regular fixture on the Formula 1 calendar. It was first held in 1964, but did not host a second race until 1970. It then had a 10 year hiatus from 1987 to 1997, it was back on the calendar for just 6 races before disappearing again from 2004. It didn’t look like the Austrian Grand Prix would ever return, but the Osterreichring was purchased by Red Bull, refurbished, and returned to the calendar in 2014. Due to all the breaks, the Austrian Grand Prix has only seen 6 multiple race winners, with Alain Prost leading the way on 3.
The current layout of the track is a shortened version of the original Osterreichring and was first used in 1997. There are 10 official corners on the lap, but really there are just 8. Each of these corners poses a challenge as you are slowing from a terrific speed for most of them. Let’s start our look at the lap by tackling the first corner.
Turn 1
One of the challenges of the Austrian Grand Prix is the elevation changes. Turn 1 sends you up a long hill climb to turn 3, so getting the exit just right is vital. It is also after the first DRS zone of the lap and exits into the second one, so you can turn it into an overtaking point if you are brave. There is run-off if you get too daring on the brakes, but the kerbs around this circuit are vicious, particularly the yellow ones, and you risk losing some of your front wing by touching them.
Turn 3
This is the primary overtaking point of the lap. You get an almighty tow up the hill from slipstream and DRS. It is tricky to make a move around the outside here, but if your opponent goes extremely defensive, they are likely to run deep and you can pull off a switchback on them on exit. The inside line is preferable, however get too brave and you’ll either lose some front wing or completely overcook it and end up off the track.
Turn 4
Another DRS zone leads you back down the hill to turn 4 and is another excellent overtaking place. This time it is a downhill braking zone, making the entry a little trickier to judge. There is no mercy if you get it wrong too, as there is a gravel trap waiting to swallow you up. Turn 4 is tight and has a natural drift out to the left hand side, which makes any attempt to pass on the outside very tricky. Thankfully, the DRS down the hill should be enough to put you into a strong position on the straight. The rest of the lap is fairly single-line. You can make a few dives on the AI in career mode, but against other players it is unwise to attempt a pass on anyone unless they make a mistake.
The second half of the lap is more technical than the first, with sweeping corners that can punish the tyres and really test your car control.
Turn 6
A mid-speed left, turn 6 starts the trickier section of the track. There is no run-off room on the exit, and with any lost time hurting you all the way down to turn 9 you have to really nail this one. It’s easy to lose the rear if your setup is too aggressive, while turning in too early will compromise your line through turn 7.
Turn 9
This corner has a few risks. Firstly, the pit entry is right on the apex, meaning that in a race you could find a slower car in your path. Secondly, is the change in elevation. The turn in point is not totally visible until you are already on the brakes, and the exit is not only hidden but also bordered with the harsh yellow kerbs. It is very easy to drift out onto them and pick up a track extension warning, but to log a good time or put yourself in a position to overtake you must fly through this corner.
Turn 10
The final corner feels similar to turn 9, but is much sharper. You have another downhill braking point which comes rapidly after the exit of turn 9, again emphasising the need to get turn 9 right. You need to take as much of the inside kerb as possible to maintain momentum onto the pit straight, but the big yellow kerb on the inside is a hard barrier. Rolling your front tyre over it will bounce you off to the left, clipping it with your rear will spin you round into the pit wall. You can take some liberties on the exit, but again track extension warnings are easy to pick up here.
Setup
Straight line speed is at a premium around the Red Bull Ring. With 4 long flatout blasts you need to trim wing angle as much as possible, but retaining rear stability is also vital for the final sector otherwise you’ll find yourself becoming best friends with the tyre wall. Stopping power is also important, and you need a solid suspension setting so you can throw the car into the final two corners and have it stick. You can see our setup here, but remember that your own driving style, controller setup, and assists level may lead to some tweaks being necessary.
Explore new topics and discover content that's right for you!
F1


