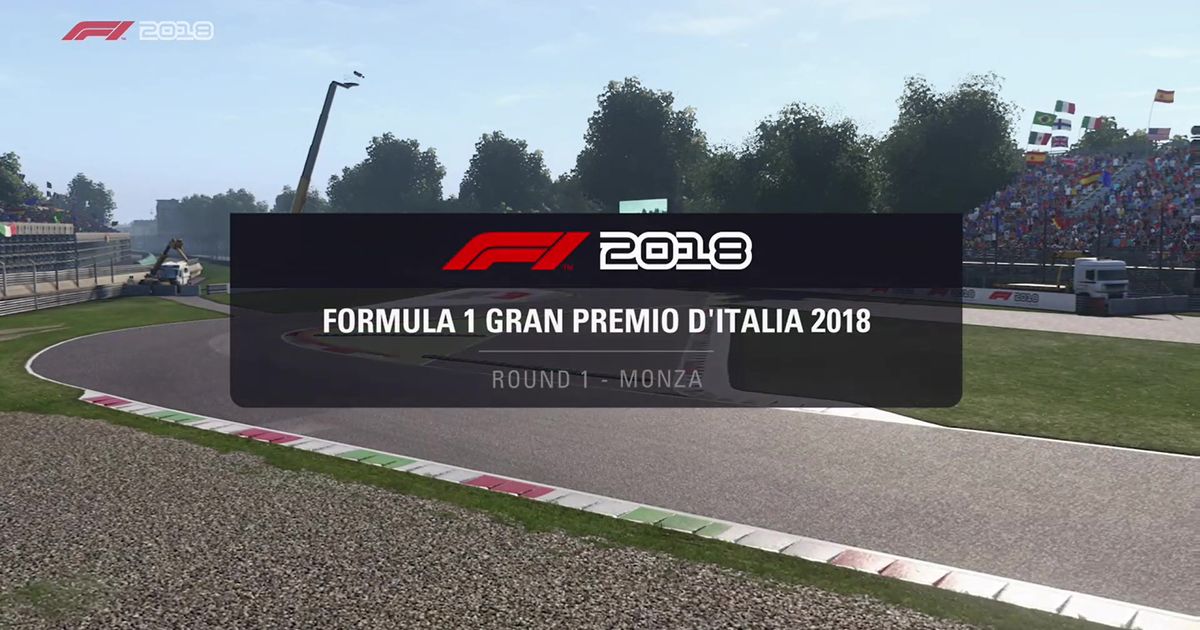
Monza is known as the "Cathedral of Speed" for a good reason. In F1 2018 there are 4 places where you can hit 200 mph. The Italian Grand Prix was part of the inaugural Formula 1 season in 1950 and has been on the calendar ever since. It has been held at Monza for all but one year, 1980 when it moved to Imola while the Monza circuit was upgraded. Monza has changed dramatically over the years, with the banked oval section no long in use but still visible from the air. The current layout has been in use since 2000, and while some changes have been suggested they have been met with very poor feedback.
Monza only features 11 corners, with 7 of those coming as chicanes the circuit is one of the easiest to overtake at, and one of the easiest to learn. But that doesn't mean there aren't still corners that can catch you out and places where you should prioritise when it comes to making moves. Let's look at the best overtaking places around the Cathedral of Speed.
Turn 1
The long sweep of turn 11 opens out into the pit straight, which sees the highest speeds of the whole lap. This makes the braking zone into the tight, slow, turn 1 a brutal stop and a perfect place to make an overtake. On fresh tyres it is easy to outbrake an opponent here, and with slipstream and a DRS zone you can get alongside and even ahead of your opponent before you get on the brakes. The inside line is far and away the better here as otherwise you will just get squeezed onto the harsh kerbs and be completely out of position for turn 2.
Turn 4
Like turn 1, this is a slow chicane after hitting 200 mph, so the braking zone gives you plenty of space here. It can be tricky to get through turn 3 when tucked up behind another car, but if you can survive the disturbance to your downforce, then pulling out of the slipstream and diving past is a very satisfying moment. While the inside line is preferable, there is more space here than at turn 1 and it is possible to make an outside move stick.
Turn 8
The third overtaking spot of the lap comes at the Ascari Chicane. This comes after the tricky turn 7 and a DRS zone and is yet another 200+ mph braking point. The run down to the chicane is narrower than other straights, which makes pulling out of a slipstream to get past a little more awkward. However, it does also define your position very clearly, if your opponent goes defensive your only path of attack is the outside, and vice versa. Ascari is a three-corner chicane, but you're accelerating all the way though the second and third parts of it so you just have to worry about turn 8. There is no room to get this one wrong, if you overcook the brakes it's only gravel in front of you, but it also has wide kerbs that can help you out with a move.
Monza does also have some tricky corners that can catch you out if you aren't on the ball. Let's take a look at them.
Turn 6
The first Lesmo, turn 6 is a mid-speed right-hander that is the first test of the lap. You don't just get to slam the brakes on here, and worse the turn-in point is shrouded in shadows. As you can see the apex is tricky to spot but and there is a gravel trap waiting on the outside if you turn in too late and a barrier nearby if you are too early. The exit here is vital as the second Lesmo follows quickly, and that is even trickier.
Turn 7
The second Lesmo is no tighter than the first, though it does look it. This fifth-gear right-hander leads out to the DRS zone and the run down to Ascari, making the exit vital if you want to post a good time in qualifying, make an overtake, or defend your position. The gravel on exit is closer than turn 6, and trying to get on the power while near it is a risky thing. One wheel wrong and you'll spin off into the wall, but too late on the power and you are in trouble all the way down to Ascari. This corner is one of the hardest to get consistently right in F1 2018.
Turn 11
The final corner, also known as "Parabolica" is a long, sweeping right-hander that can be tricky to perfect but hard to get massively wrong. They have pushed the gravel back from the outside of this corner, making it more forgiving than it used to be, but if you are too slow through here then you are exposed on the run down to turn 1, making this a vital corner to get right. It's a short braking zone and a close apex, and then it is just a steady acceleration and drift out toward the kerb. It is easy to drift too far and ride the kerb, and easy to turn too tight and unecessarily wear your tyres. Getting this corner right makes extending stints far easier.
Setup
Monza is all about speed. Trim down wing angles, up your differential, and move the weight ballast back so you can really fly down the straights. Trim too much rear wing and you'll struggle through Parabolica and the Lesmos, but in the end everything you do here needs to be geared toward out-and-out speed. You can see our setup for the Italian Grand Prix here, but remember that your own driving style, controller layout, and assists level means you may have to make a tweak or two.
Explore new topics and discover content that's right for you!


