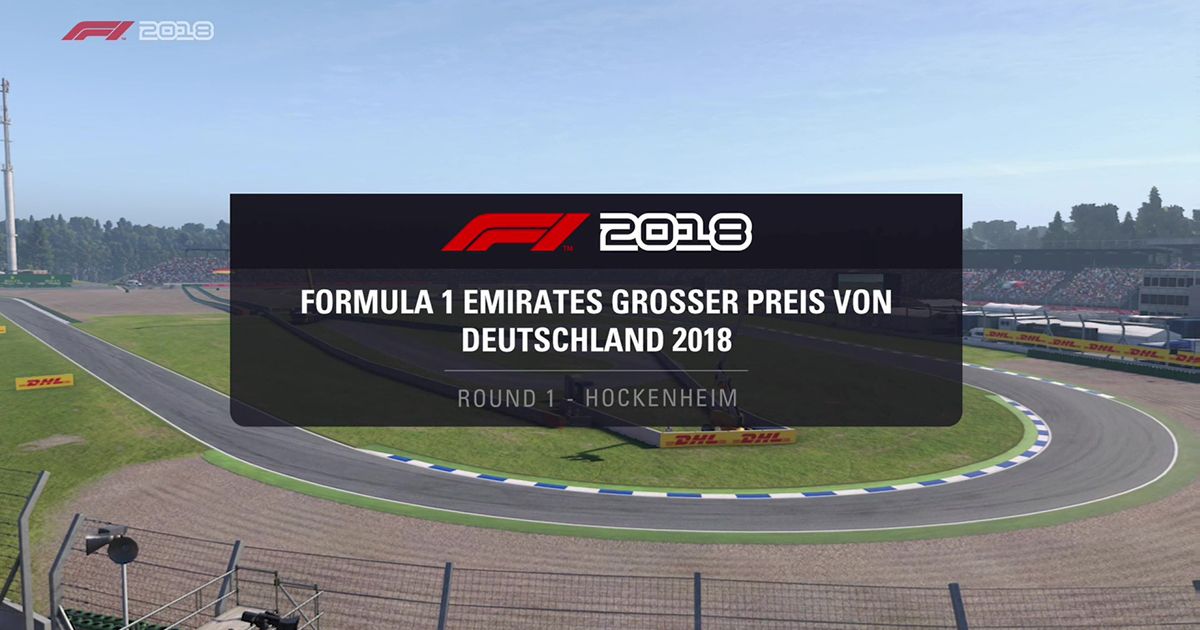
The German Grand Prix has been running since 1926. It became a part of the Formula 1 World Championship in 1951. The Hockenheimring has hosted the race more often than not, but in recent years the German Grand Prix has attempted to swap between the Hockenheimring and the Nurburgring. However in 2015 the Nurburgring withdrew from F1, and so the German Grand Prix became a biennial race, only being held on even years. This means that in F1 2018 we get to take a blast around Hockenheim.
The 17-corner track is not the long blast through the forest it used to be, but it is still a demanding task for all drivers. It combines long straights and quick corners with a narrow, slower, stadium section. This means to register a good time you have to have a balanced setup, nerves of steel, and precise car control.
Hockenheim is a fan favourite because there are plenty of overtaking places and the layout of the track leads to a good deal of action. Let's take a look at the best spots to pull a pass around Hockenheim.
Turn 6
Hairpins are always a good spot to make a pass (except in Monaco of course) thanks to their long braking zones. This is especially true at Hockenheim where the turn 6 hairpin comes after a long flatout blast all the way from the exit of turn 2. If you use rich fuel mix and overtake ERS mode you can fly past inferior cars before you hit the braking zone, however more often than not you'll have to get this done on the brakes. The inside line is preferable here, but it is possible to get switchback overtakes done if your opponent gets too defensive and over-shoots the apex.
Turn 8
If you can't quite get the move done at the hairpin, then don't panic, the next braking zone provides an opportunity too. Turn 7 is a flatout right-hand kink, but turn 8 is a slower, wide left that provides a chance to make a dive up the inside. You have to be pretty brave, and you can't make a lunge from too far back as you'll just get turned into by your unsuspecting opponent, however if you get a good drive out of the hairpin and are on their gearbox you can push through on the inside.
You can also make a dive into turn 2 if you are close. This does then put you on a defensive footing for the run down to the hairpin though.
Hockenheim is also full of tricky corners that can ruin a qualifying lap and end your race if you aren't careful. Let's take a look at where you can throw away a lap and lose time.
Turn 1
This right-hand kink can be taken nearly flatout, but with that speed comes a huge risk of track extension warning which can negate a qualifying lap or result in time penalties through a race. If you take too much kerb on the inside you run the risk of spinning out, and not taking enough guarantees you will run wide. A brief lift before turn in and you'll be ok. Carrying speed through here is vital to registering a good time in qualifying, and you can lose nearly half a second just by getting this corner wrong, ruining your whole lap.
Turn 11
Much like turn 1, turn 11 is a high-speed right-hander that can make or break a lap. This time the stakes are higher though. There is a gravel trap waiting for you on exit if you take too much speed through this corner or get your entry point wrong. It's better to take a chunk of the inside kerb and leave the outside alone all together, because one wheel on that gravel and you can quickly end up in the wall, take this corner too slow though, and you'll never log a strong qualifying time.
Turn 15/16
The final two corners are effectively a single, double-apex, corner. The kerb on the outside of turn 15 is harsh and running over it can bounce your car, completely ruining your entry for 16. Meanwhile, there is gravel on the exit of 16 which will cost you time right at the last moment and ruin a qualifying lap. It is very easy to lose time in the stadium section, and these final two corners are the toughest of the lap. Mid-speed corners are especially tricky to get right for pad users and the final two corners can be especially harsh on the front-left tyre, so finding a smooth line and easy style through here is very important.
Setup
Hockenheim requires a unique setup. You need good rear downforce to keep the back end planted through turns 1, 11, 15, & 16, but you also need low front downforce to get the straight line speed on the back straight. Your suspension geometry is also vital here so you can preserve tyres. You can find our setup here, but remember that your own driving style, level of assists, and type of controller may require you to make a few tweaks to the setup.
Explore new topics and discover content that's right for you!
F1


